 Notes: Advanced Supplies: Image3
StoD8tmp Eye Candy 3.1 Animation Shop
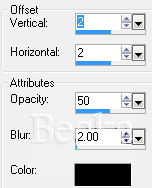
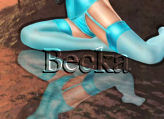
Take the woman Step 1: Take the woman tube Edit/Copy Edit/Paste as a new layer Place this image on the rocks, close to the edge Effects/3D Effects/Drop Shadow
Layers/Duplicate
Image/Flip Image/Free Rotate
Line
up the knee
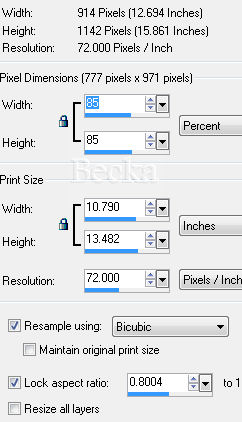
Lower the opacity of the Copy of Raster 1 layer to 50% Layers/Merge/Merge Visible Image/Resize 40% Step 2: Image/Add Borders/2 px/White
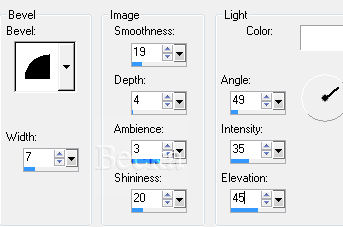
Selections/Select None Step 3: Image/Add Borders/1 px/Black Image/Add Borders/10 px/Light Color Image/Add Borders/10 px/Dark color Selections/Selections All Selections/Modify/Contract/20 Selections/Invert Effects/Plugins/Eye Candy3.1/Swirl
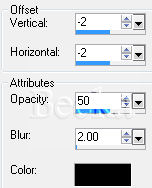
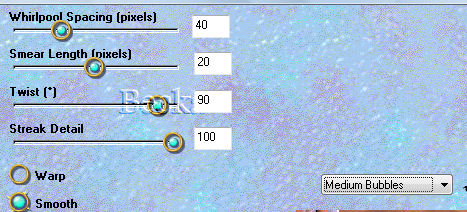
Selections/Select None Step 4: Image/Add Borders/1px/Black Add Name Add Drop Shadow of choice Add a Caption Add Drop Shadow of choice Layers/New/Raster Layer Add watermark Merge your text layers Close that layer Use your Freehand Tool/Point to Point and go around the water using these settings:
Layers/Merge/Merge Visible Duplicate your merged layer Leave Merged alone On Copy Merged Effects/Plugins/Eye Candy3.1/Jiggle Bubble Size: 10 Warp Amount: 10 Twist: 10 Movement Type: Turbulance On your merged layer Effects/Plugins/Eye Candy3.1/Jiggle Bubble Size: 5 Warp Amount: 5 Twist: 5 Movement Type: Turbulance Selections/Selections None
Step 5: Open Animation Shop Back to PSP Edit/Copy your text layer Animation Edit/Paste as a new Animation Highlight this frame Edit/Copy Edit/Paste After Current Frame Repeat - until you have 2 frames Back in PSP Delete your Text layer You should have 2 layers now Edit/Copy your Merged layer Edit/Paste as a new Animation Edit/Copy your Copy of Merged layer On both animations Edit/Select All Take your text.. Edit/Copy Go to your background.. Edit/Paste Into Selection Animation/Animation Properties/30 Or what looks good to you Animation/Resize Animation/325 on the longest side ©CreateWithBecka 2-20-09 |
|


Make a Free Website with Yola.