 Notes: Advanced Supplies: F0206 (c) Lea Sybia Preparation: Take your tube Duplicate Resize to 50% Close the original Pick 2 colors from your image Step 1: Working with your tube Step 2: Layers/New Raster Layer Step 3: Image/Add Borders/1 px/Black
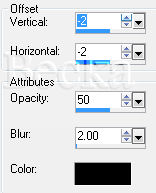
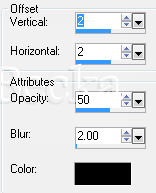
Effects/3D Effects/Drop Shadow
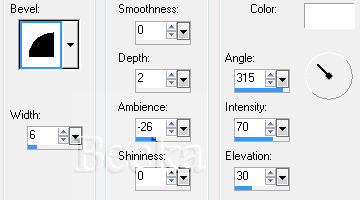
Effects/3D Effects/Inner Bevel
Selections/Select None Step 4: Image/Add Borders/1 px/Black
Step 5: Image/Add Borders/1 px/Black Effects/3D Effects/Inner Bevel/Same as before Effects/3D Effects/Drop Shadow/Same as before Step 6: Layers/New Raster Layer Add watermark Add Name - Font and settings your choice Add Caption Font and settings your choice Layers/Merge/Merge Visible
Voila!! ©CreateWithBecka 8-31-09 |
|


Make a Free Website with Yola.