 Notes: Intermediate Supplies: StarlightFairy~AnnaIgnatieva Your choice as well as settings
Preparation: Open a 450 x 450 transparent image
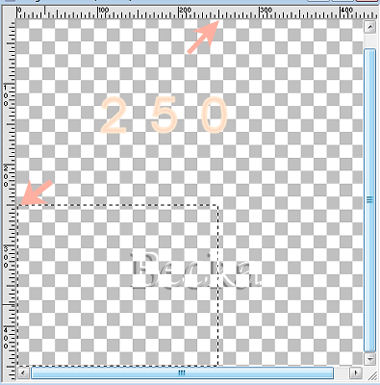
Step 1: We are working first with our transparent image
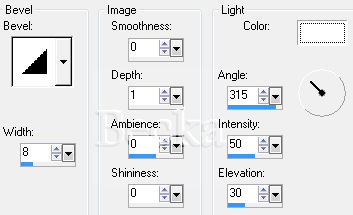
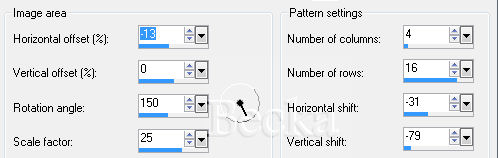
View/Rulers Layers/New Raster Layer Flood Fill with your darker color Effects/3D Effects/Inner Bevel
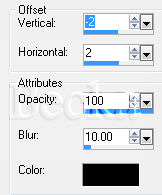
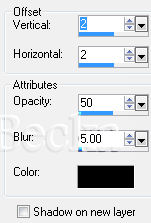
Effects/3D Effects/Drop Shadow
Edit/Copy your tube Deselect Edit/Paste As A New Layer onto your main image Put the fairy in a sitting position on the box Effects/3D Effects/Drop Shadow
Step 2: Image/Add Borders/1px/Black
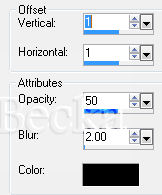
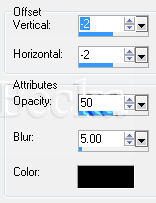
Effects/3D Effects/Drop Shadow/
Effects/3D Effects/Inner Bevel/same as before Deselect Image/Add Borders/1 px/Black Add a Caption Font and settings your choice Effects/3D Effects/Drop Shadow
Add your Name Font and settings your choice Layers/New Raster Layer Add Watermark Layers/Merge/Merge Visible Voila ©CreateWithBecka   |
|


Make a Free Website with Yola.