 Notes:
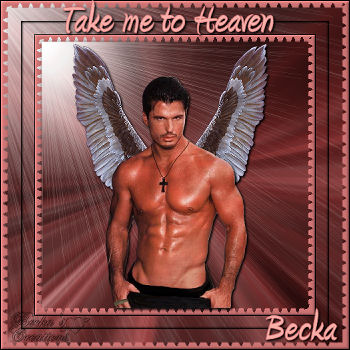
This tut was done in PSP 10 but should work as well in other versions. Some knowledge of, and experience with, PSP is required. A trial version of PSP can be downloaded from here. You are welcome to use my images, or use your own If any filters are used, please note that if you don't already have them installed that you will have to close PSP, Install, then start PSP again. Intermediate Supplies: Tubes/Graphics/Images: PlaygirlHunk98_cc_04 A_dozi_s_wings_07 Satin 6 Ecosse Preparation: 400 x 400 transparent image Male image Copy and close the original Re-size to 65% Wings Close and close the original Re-Size to 45% Pick 2 colors from your image Satin image Copy and close the original Adjust/Hue and Satuation/Colorize 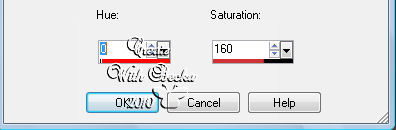 Step 1: 400 x 400 image -- working image Selections/Select All Satin Edit/Copy Edit/Paste Into Selection Adjust/Blur/Radial Blur 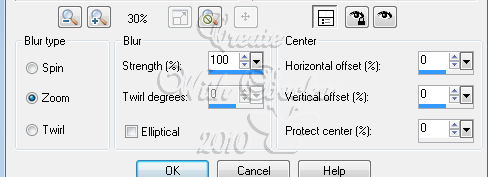 Put your check on twirl, then you will be able to make the twirl to 0, then move to zoom Selections/Select None Effects/Illumination Effects/Sunburst 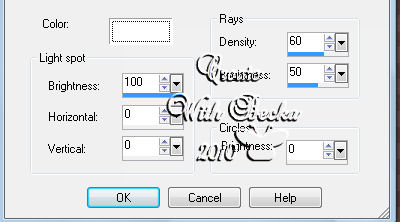 Step 2: Image/Add Borders/Dark Color/10 px Highlight this border Effects/Plug ins/Ecosse/Flutter/Default Effects/3D Effects/Inner Bevel  Edit/Copy Edit/Paste as a New Image - border Selections/Select None Step 3: Image/Add Borders/Black/1 px Image/Add Borders/White/40 px Selections/Select All Selections/Modify/Contract/100 px Edit/Copy Selections/Select None Highlight the white border Edit/Paste Into Selection Selections/Select All Selections/Modify/Contract/20 px Selections/Invert Effects/3D Effects/Drop Shadow 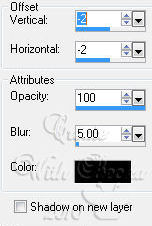  Selections/Select None Image/Add Borders/10 px Highlight this border Edit/Copy your border Edit/Paste Into Selection Selections/Select None Image/Add Borders/Black/1 px Step 4: Hunk Edit/Copy Edit/Paste as a New Layer Effects/3D Effects/Drop Shadow 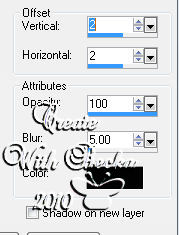 Step 5: Wing image Edit/Copy Edit/Paste as a New Layer Place them to where the tips were almost touching the top Layers/Arrange/Move Down Effects/3D Effects/Drop Shadow/Same as on the male Move the image down (Like in the pic above) Step 6: Layers/New Raster Layer Add Watermark Add a caption Add your name Drop Shadow of choice on the name and caption Layers/Merge/Merge Visible Image/Resize to 350 ©CreateWithBecka 2009-2011 3-13-10 |
|


Make a Free Website with Yola.