 Notes: Advanced Supplies: Abraxsismichaelsutfin_anti Eye Candy 4000 Preparation: Take your tube, duplicate and close the original
Pick 2 colors from your tube Step 1: Take your tube (working image), lower the opacity to 50% Add a new raster layer
Flood fill this layer with your darker color Layers/Arrange/Send to Bottom Step 2: Image/Add border/10 px/Light color
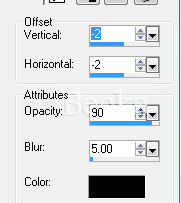
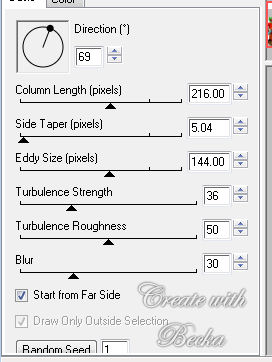
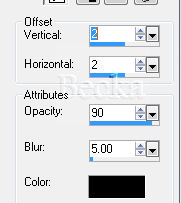
Image/Add border/10 px/Dark color Selections/Select all Selections/Modify/Contract/20 px Selections/Invert Effects/Distortion/Curlicues/Default Settings Effects/3D Effects/Drop Shadow
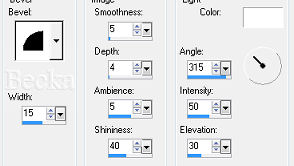
Effects/3D Effects/Inner Bevel
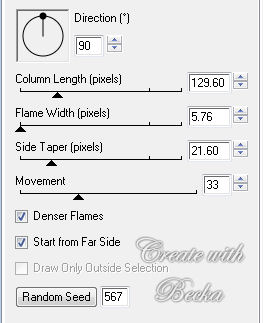
Step 3: Step 4: Take 2 colors from the fire and put them in your materials palette
Layers/Merge/Merge Visible
Voila!! ©CreateWithBecka |
|


Make a Free Website with Yola.