 Notes:
This tut was done in PSP 10 but should work as well in other versions. Advance Supplies: receptionist of the future Two Moon gfthcorner Preparation: Open the Tube and the corner in PSP
Duplicate and close the original Re-size the corner to: 25% Pick 2 colors from your tube and make a gradient using those colors Angle: 60 Repeats: 2 Invert: Checked Linear Step 1: Open the tube
Step 2:
Hit the Delete key on your keyboard
Layers/New Raster Layer Flood fill with your gradient Highlight your Raster 1 Layer again
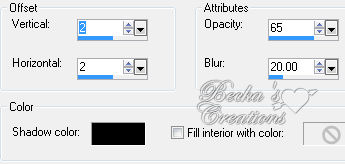
Layers/Merge/Merge Down Repeat Drop Shadow - Except change the Vertical/Horizontal to: -2 Layers/Merge/Merge Visible Image/Add Borders/1 px Black This is what you should have to this point:
Image/Add Borders/10 px/White
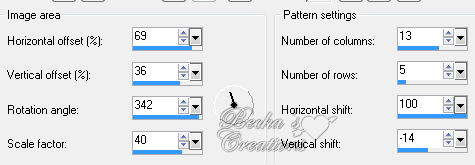
Select this border Effects/Reflection Effects/Pattern
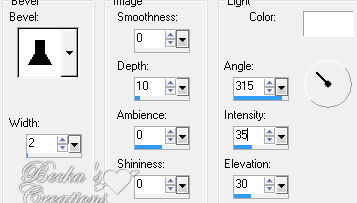
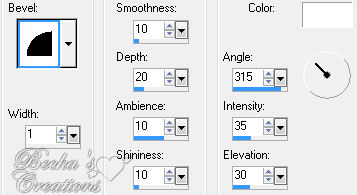
 Effects/3D Effects/Inner Bevel
 Selections/All
Selections/Modify/Contract/11 Effects/3D Effects/Cutout
 Step 4: Image/Add Borders 1 px Black
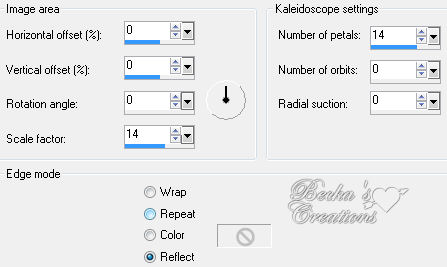
Image/Add Borders 20 px White Highlight this border Flood Fill with your gradient Effects/Plugins/Two Moon/Swirler/Default
Effects/3D Effects/Inner Bevel
 Image/Add Borders 1 px Black
Deselect Step 5: Open your corner
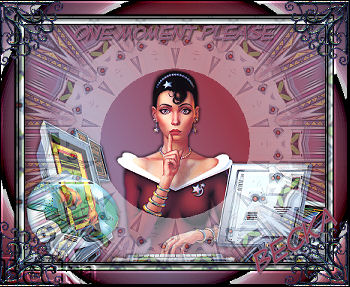
Edit/Copy Edit/Paste as a new Layer onto your main Image Move this corner to the upper left side Effects/Plugins/Simple/Top Left Mirror Layers/Merge/Merge Visible Take the 2 colors that you made into a gradient and make them solid colors Type a Caption - Font, Settings - your choice Options/Align/Horizontal Center in Canvas Add Drop Shadow - Your choice of settings Layers/New Raster Layer Add watermark Add Your Name your settings Layers/Merge/Merge Visible Re-size to 300 on the longest side Voila!! ©CreateWithBecka
2009-2011 10-27-09
|
|


Make a Free Website with Yola.