Notes: This tut was done in PSP 10 but should work as well in other versions. Some knowledge of, and experience with, PSP is required. A trial version of PSP can be downloaded from here. You are welcome to use my images, or use your own If any filters are used, please note that if you don't already have them installed that you will have to close PSP, Install, then start PSP again.
Preparation: Pick 2 colors Make a gradient - with these colors
Windows/Duplicate both images
Step 1: On your background layer Layers/New Raster Layer Layers/Arrange/Send to Bottom Flood fill with your gradient Adjust/Blur/Radial Blur Layers/Merge/Merge Visible
Step 3: Image/Add Borders/1 px/Black Image/Add Borders/20 px/White Highlight this border Edit/Paste Into Selection Selections/Select None Image/Add Borders/1 px/Black
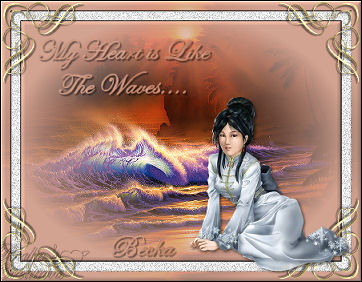
Step 4: Take the woman Edit/Copy Edit/Paste as a New layer Move to the bottom right Effects/3D Effects/Inner Bevel Make sure that the background layer is highlighted Highlight the white border Adjust/Add-Remove Noise/Add Noise Selections/Select None Layers/Merge/Merge Visible Re-Size to 60% - or what looks good to you Selections/Select None Layers/Merge/Merge Visible
Step 5: Corner Edit/Copy Edit/Paste as a new layer Image re-size to 45 or what looks good to you Place in the upper left corner Effects/3D Effects/Drop Shadow Effects/Plugins/Simple/Top Left Mirror
Step 6: Add Name Effects/3D Effects/Drop Shadow Add Caption Add Drop Shadow Layers/New Raster Layer Add Watermark Layers/Merge/Merge Visible Image/Re-Size to 80% or what looks good to you